Thursday, April 18, 2019

Easter Wreath with Miss Kate Cuttables

Hi!! I am going to show you how to make a fun Easter decoration on your die cutting machine using Miss Kate Cuttables Easter Wreath SVG.

Before we get into the project, go over to Miss Kate Cuttables to pick up your "Daily Freebie". This Easter wreath was a daily freebie and is now a discounted file.


I cut out my design using the "Easter Wreath" svg making it as large as I could using my Silhouette Studio. I cut out each layer using the coordinating color. The file you will receive from MKC will have a color coded image either all together or with all the pieces of the project apart. I usually use the one together so I know how the pieces go when I go to put it back together.

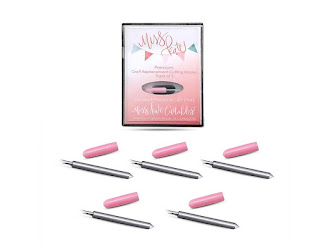
After I cut out all my pieces I glued them together. (I used the Miss Kate Cuttables Mat and Blades.) You can be done at this point!! It is easy to make beautiful items by simply cutting and assembling. But, with this project I went a step further and decorated all my Easter eggs and the leaves of my wreath with GLITTER and BLING!! You can use solid papers to decorate the eggs or pattered paper and leave them as they are cut. I used my patterned paper and many glitter glues and rhinestones to jazz up my wreath.


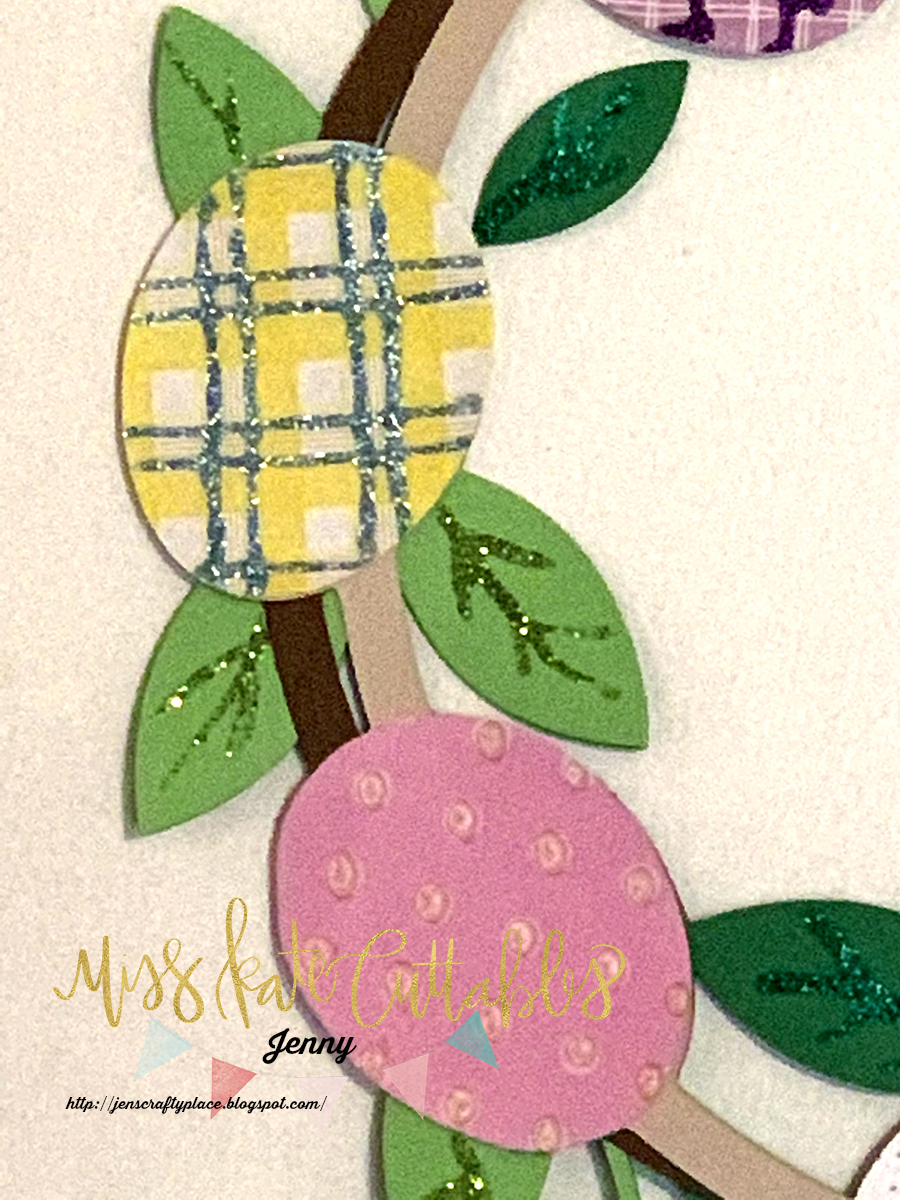
I like to get my fingers dirty sometimes!! This is also a great project to do with children. Let them decorate the eggs and then glue them to the wreath for a special memorial wreath. Let each child write their name on an egg, or have them put what they are thankful for. There are many ways to use this wall hanging. Use your imagination and have fun creating!! Don't forget to post pics in the comments below to show off your designs!!


Thanks for joining me! Please take some time to check out some of my other posts with more inspirational ideas and join my newsletter so you will get all the new posts sent directly to your email!!

Happy Crafting!

Wednesday, April 10, 2019

New Paper Packs from Miss Kate Cuttables


Spring has sprung at Miss Kate Cuttables. The flowers are in bloom and the day are longer. Bunnies, baskets, chicks and eggs are all signs that Easter is upon us! Over at Miss Kate Cuttables we have a new Easter line of paper packs and die cuts. These newly designed Easter papers and die cut packs includes all things Easter. Featuring baskets, flowers, sweet little chicks and bunnies all in bright, airy colors!

Miss Kate Cuttables has a new release!! Paper packs that have coordinating die packs too!! Check it out HERE and AMAZON!!  I used the Easter Fun Pack to make this EASY card for Easter.


https://www.misskatecuttables.com/products/product/easter-fun-paper-pack.php

https://www.amazon.com/Paper-Die-Cuts-Cardstock-Scrapbook/dp/B07PGBTNWL/ref=sr_1_fkmrnull_1?keywords=Miss+Kate+Cuttables+easter+die+cut&qid=1553710734&s=gateway&sr=8-1-fkmrnull


You can also find the digital versions of each pack HERE
 
Before we get into the directions don't forget to pick up today's FREEBIE over at Miss Kate Cuttables!! 


I used a die for my card but you can cut the same card using THESE directions. I used some matching cardstock to make my base and then used the decorative paper from my paper pack to decorate my card. The fun part is using the paper dies provided to decorate my card!! So much to chose from. I used some dimensional foam pads to pop up some of my decorative elements too!!


That's it! I hope you like the card and stay tuned for more fun projects from this Easter Paper Pack!

Don't forget to drop by my blog for more ideas and sign up for my newsletter to get the latest posts as they are posted!


Today I have a special treat, I have a bonus project for you!! This is a swing card using the same Eater Paper Pack!!


I used the same paper pack as I stated above from Miss Kate Cuttables but changed out the card base for a swing card. I love to make cards using paper packs because they are fast, easy and most of all beautiful!! You can find the card directions HERE


I love this card and best of all, I can use it for a birthday, thinking of you, just because or any occasion since flowers are pretty universal.  I still have tons more paper and die cuts to make more!!


Don't forget to drop by my blog for more ideas and sign up for my newsletter to get the latest posts as they are posted!

Pinterest

Miss Kate Cuttables has generously offered each design team member a pack of the Easter Fun Paper Collection and matching Easter Fun Die Cuts to give away on their blogs. All you need to do to enter is:

1) Follow the Miss Kate Cuttables blog and comment on this post.

2) Follow and comment on each design team member's blog.

Check out our design team inspiration by clicking on their names to go to their individual blogs!

Monday, April 8, 2019

Miss Kate Cuttables April Challenge: Bunny

Over at Miss Kate Cuttables they have a monthly challenge and this month challenge is: Bunny/Bunnies. Just use a Miss Kate Cuttables file with a bunny, make a project and post it on our site to win. Also check out the "Daily Freebie" while you are there!!


 This simple card is an inside spinner card. It can be made with any file but I chose this cute bunny from Miss Kate Cuttables! This file is called, "Stuffed Bunny". Below is a video on what a spinner card looks like when you open it. Check it out, I will wait..........


........Fun, right?? You can put any design in the center to customize your card to different occasions.
 I cut a A2 card or a piece of natural card cut 5.5 x 8.5 inch, scored at 4.25inch.  The inside piece of paper which is cut from white card stock to 5.25 x 8.5 and then you can score it at 4.25 and 2.5 inches from each sides for the side panels. Die cut any any shape for your opening. Either a circle, square or oval like I did. I used a scallop but you can just use a regular oval too!

Then take your spinner element, mine being the bunny, cut two images that are the same from the front and the mirror image. I used print and cut option and printed out two of the bunnies and gave him a hair cut, since that would not line up with my mirror image, and added some clear thread between them. This is the spinning mechanism, you just tape the strings to the back of your opening and attach the white paper to your card using strong tape to the 2.5 inch flaps centering to your natural card stock.

Decorate and you are done!!


Thanks for stopping by!! Check out some of my other posts for more fun and creative ideas! For more ideas delivered to your own inbox, sign up for my newsletters!

Jen's Crafty Place