Showing posts with label baby card. Show all posts

Monday, April 8, 2019

Miss Kate Cuttables April Challenge: Bunny

Over at Miss Kate Cuttables they have a monthly challenge and this month challenge is: Bunny/Bunnies. Just use a Miss Kate Cuttables file with a bunny, make a project and post it on our site to win. Also check out the "Daily Freebie" while you are there!!


 This simple card is an inside spinner card. It can be made with any file but I chose this cute bunny from Miss Kate Cuttables! This file is called, "Stuffed Bunny". Below is a video on what a spinner card looks like when you open it. Check it out, I will wait..........


........Fun, right?? You can put any design in the center to customize your card to different occasions.
 I cut a A2 card or a piece of natural card cut 5.5 x 8.5 inch, scored at 4.25inch.  The inside piece of paper which is cut from white card stock to 5.25 x 8.5 and then you can score it at 4.25 and 2.5 inches from each sides for the side panels. Die cut any any shape for your opening. Either a circle, square or oval like I did. I used a scallop but you can just use a regular oval too!

Then take your spinner element, mine being the bunny, cut two images that are the same from the front and the mirror image. I used print and cut option and printed out two of the bunnies and gave him a hair cut, since that would not line up with my mirror image, and added some clear thread between them. This is the spinning mechanism, you just tape the strings to the back of your opening and attach the white paper to your card using strong tape to the 2.5 inch flaps centering to your natural card stock.

Decorate and you are done!!


Thanks for stopping by!! Check out some of my other posts for more fun and creative ideas! For more ideas delivered to your own inbox, sign up for my newsletters!

Jen's Crafty Place


Thursday, March 1, 2018

Joy Clair Stamps Challenge New Baby

Over at Joy Clair's Blog, they are running a challenge and here is my answer to their call!

https://l.facebook.com/l.php?u=http%3A%2F%2Fjoyclair.typepad.com%2Fblog%2F2018%2F03%2Fmarch-challenge-anything-goes.html&h=ATNHkfviXH_Db92h1Y36Yq3hLkQIwsLfL_IJJ-b-sdYyGdaN_7h0wGkyFZMeLfDdXTP6sBWAruPaEVDmqgYQOot4tpVMcglqOC9OpZFWniGgKCpZDghX0fjy9Wn5o-qWnA

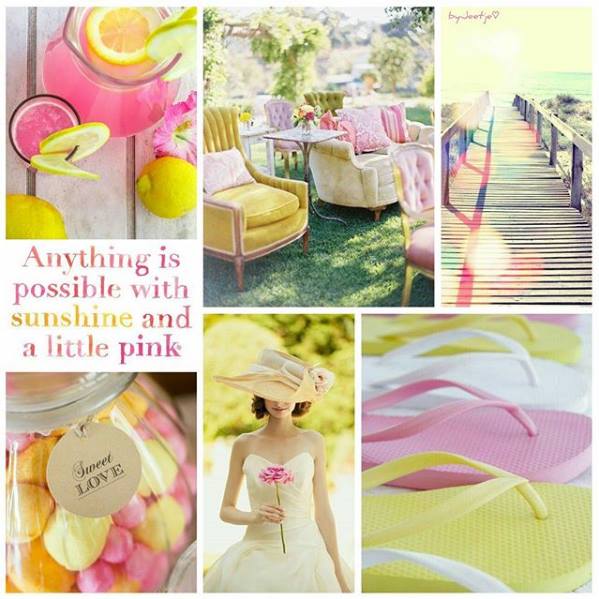
Looking at the pictures above, what do you think of? I thought of babies! I had the "New Baby" stamp set and thought it would be fun to make "onesies" in these colors. Perfect for a new baby! Either boy or girl!!
 

I made this super easy using the MISTI from "My Sweet Petunia". I lined up my stamps on the MISTI and stamped them with VersaMark ink. I then put white embossing powder on them and heated them with my heat gun.

I cut out my images and got ready to add my sentiments on the front of the onesies. To make this an easy process, I again turned to my MISTI.


I placed the cut out onesies on the MISTI and then it was easy to line up the word stamps with the grid lines. When I got the stamps exactly where I wanted them, I closed the clear door to the MISTI.


The photo above shows the door closed. When I closed the door, the stamps stick to the clear door and I am now ready to stamp. I open the door and add my favorite ink, in this case, I added VersaMark.


After adding the ink close the door and press like you would with any stamp. The great thing about the MISTI is if you don't get the image you want, if you get gaps in your stamped images, you just open the door again and re-ink. Once you re-ink, just close the door and re-stamp and it will stamp EXACTLY where it stamped previously so no more double lines in your stamping!


After stamping with VersaMark, I used the white embossing powder again with the heat gun to set the powder and arranged it on my card front. I made a larger card then the normal A2. This card measures 5 x 7 inch. (You can easily make this card smaller, just do one layer card.) I ran my first layer though an embossing folder with mini dots. (4 x 5.5 inch) Then I used 2 layers of patterned paper adhered them together with glue and then used foam adhesive to pop up the final layer on white card stock card base. To finish off, I used a corner rounder on all papers and added some sequins and some jewels in the holes in the sequins.

http://blog.mysweetpetunia.com/

Please check out the Challenge over at Joy Clair's Blog and join along on the fun! Click on the image above and check out My Sweet Petunia's blog and all their great ideas too!!

Until next time!
Happy Crafting!